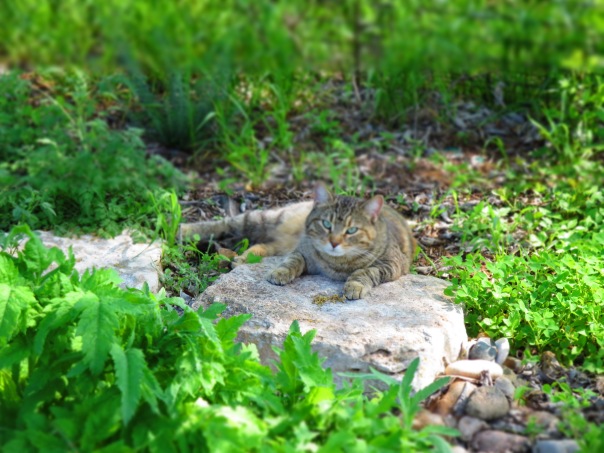
Spooky Action Ranch Report: Week Fourteen 2015
BEETS!
This week we harvested the last of the beet beds, and I thought that I would offer you a photo journal of the whole process from garden to pantry. I hope you enjoy!
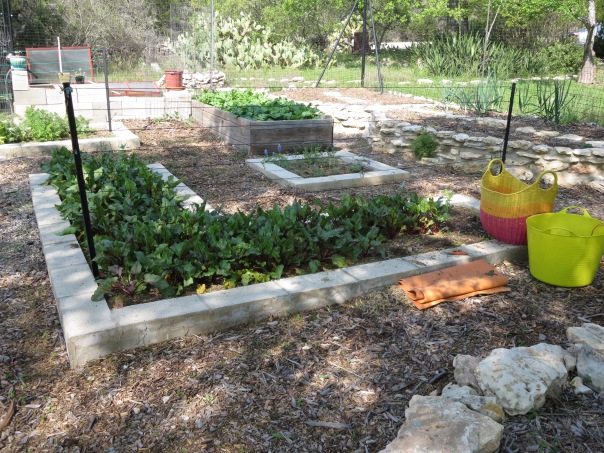
Here is the final beet bed all prepped for harvesting. I harvest using two different containers and begin my processing as the roots come out of the ground. The yellow and red basket holds the beets, and the beet tops go into the bucket. The yoga mat is my knee cushion.
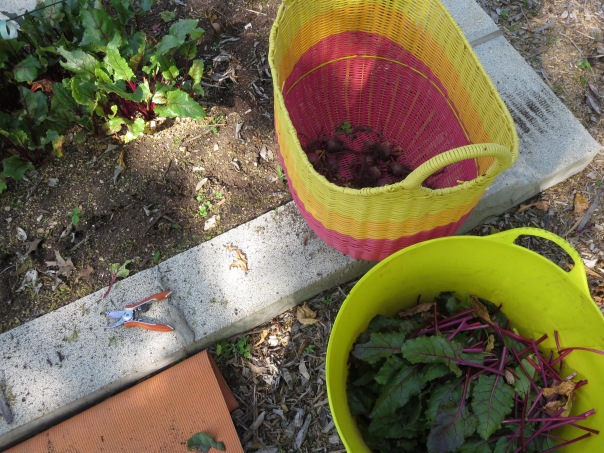
Here is a better view of the sorting. Doing this right as the plants come out helps reduce the number of times I have to touch each beet on their way to full processing. Ah, efficiency.
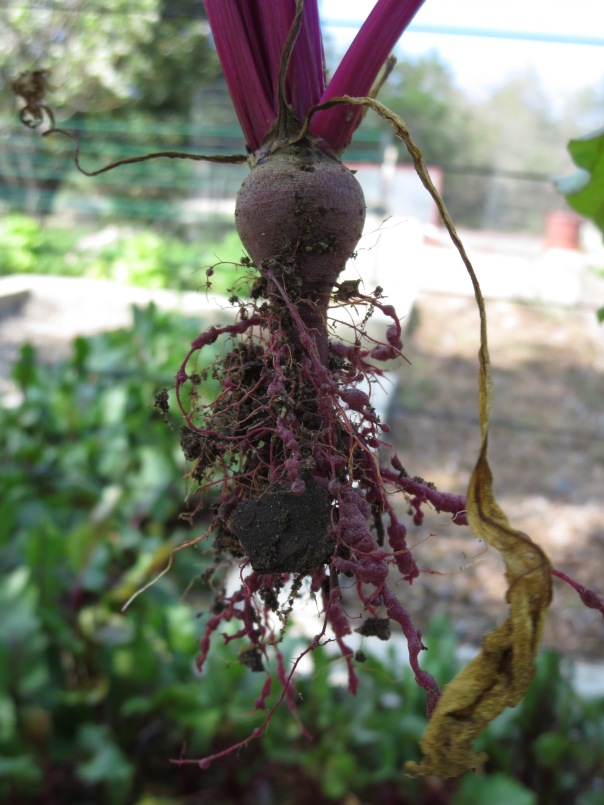
The beet harvest was small this year, many of the beets looked like this. Guess what this is! Root knot nematode damage. The females of these microscopic parasites attaches itself to the plant’s roots and diverts nutrients into the cell it has attached itself to. The result is like cancerous knots on the root and diminished vigor and production of the plant.
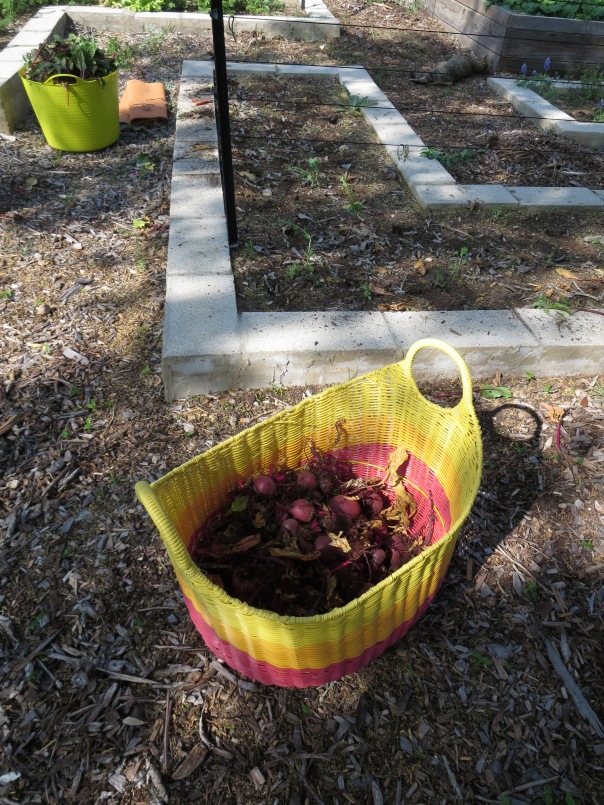
The harvest is complete. Beets and Beet Greens are separated, and we are ready to take everything inside to clean.
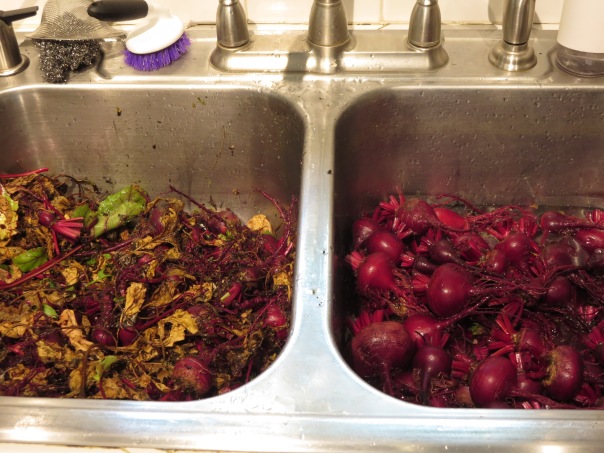
I first gave the beets a good hosing off in the garden. The basket let’s the water flow out into the garden bed where I wash them. Then I brought them all inside to clean each by hand and remove dead leaves that are still attached. I leave the roots and a bit of the stems on them as they head to boiling to reduce the loss of color in processing.

As the next step we put the beets in a bath of boiling water. I leave them in there for about 30 minutes, as the skins soften up. When I can nudge one of them with a wood spoon and the skin slips away, I know they are ready for the next step. I will dump the beets back in the sink letting the hot beet colored water flow away and filling it up with ice and cool water to cool them down for processing further.
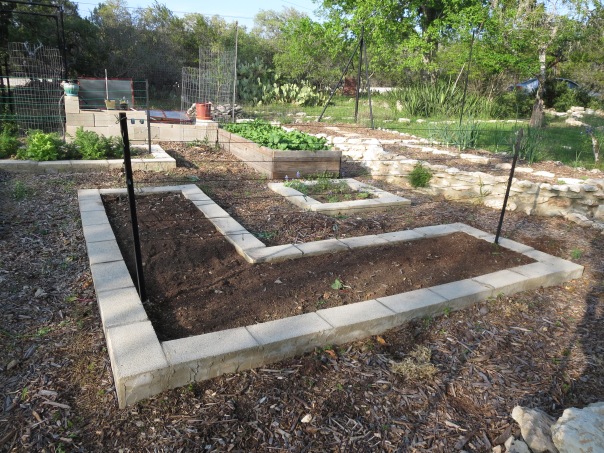
As the beets cool in the sink, I head back outside to finish up the bed. I tilled the earth, removed all the weeds, fed it with blood meal, and cleaned it up so it is ready to plant again. We will be putting cowpeas in here for the spring/summer season. I am just waiting for a delivery of nematode resistant seeds.
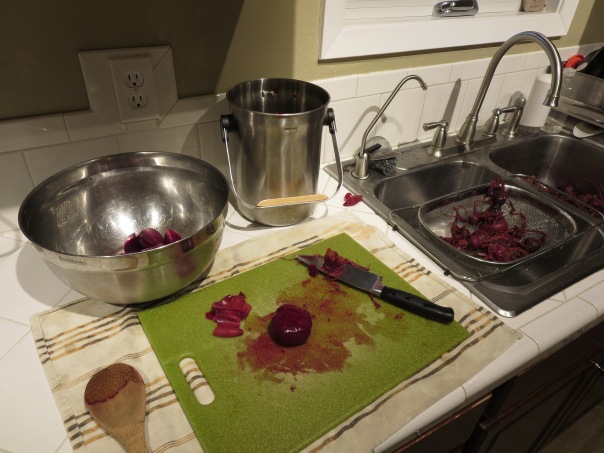
Back inside, I peel each beet. It not hard work, but quite tedious. I cut off the roots and the tops of each beet and they slip right out.
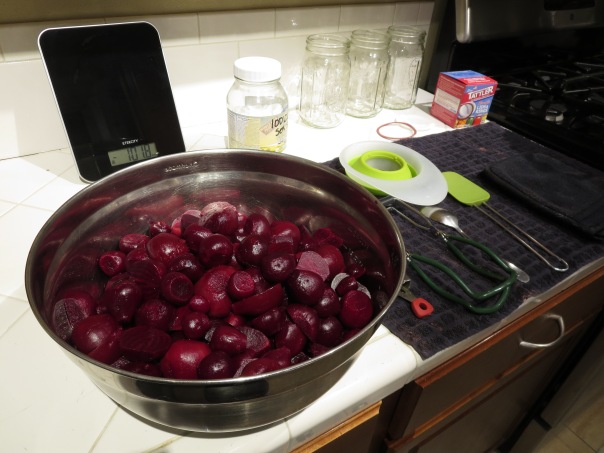
Once all the beets are peeled, it is time to start the canning process. I have here gathered everything I need. I will boil each jar before filling, both to be sure the jars are clean and to warm them up before they go in the canner. I fill each jar with beets and hot water, with a teaspoon of salt (optional) up to about an inch from the rim, then cap them and place them in the canner.
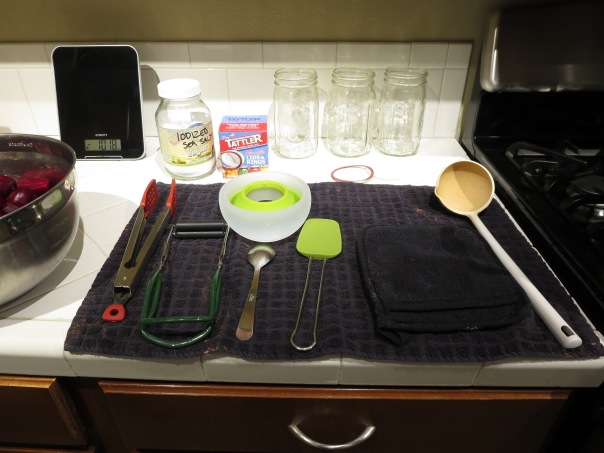
Here is a better look at all the tools I use to can. On the far left are a couple of different grippers I use to lift the jars in and out of boiling water. The funnel helps me get all the beets into the can without making a mess on the edge of the jar. A spoon and some salt for flavoring the can a bit. A ladle for the water. And the jars. We also use reusable jar lids, these are a little more difficult to use and can cause the jars to not properly seal, but as we start reusing the jars, we don’t have to purchase new lids for them, which feels good.
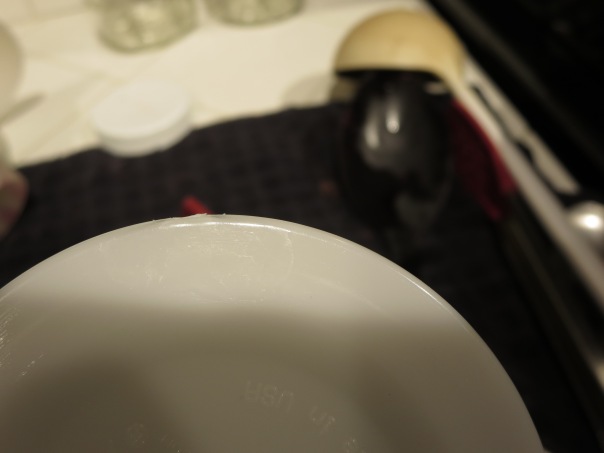
Here is a close up of one of our reusable lids. Probably the primary reason that these lids have failed for us has been a small burr on the side of the lid caused during manufacturing. So add to my tool kit a file. I file down the sides to be sure they do not snag on the rings when I remove them after processing.
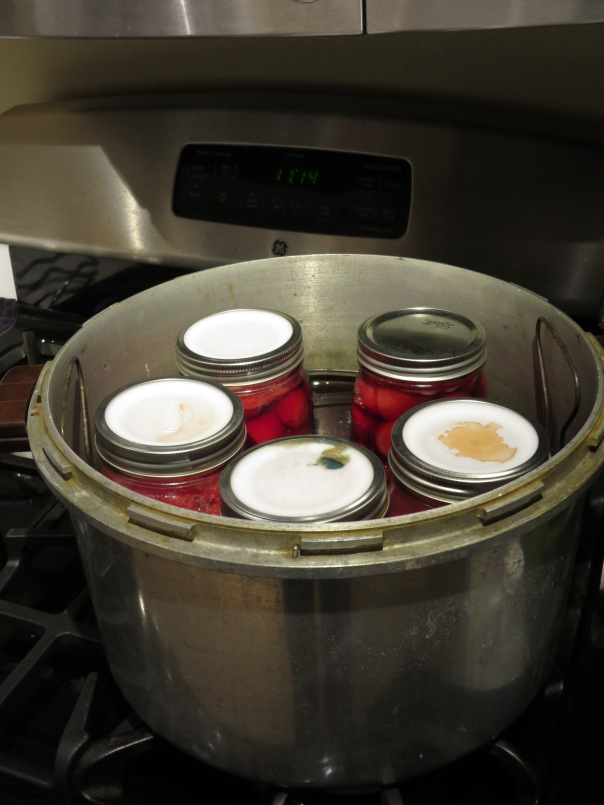
The pressure canner. Actually processing these items in the pressure canner begins once all the jars are fill. We will seal the canner, notice that the lid locks down onto the base of the canner. Then we raise the heat until a steady stream of steam comes out of the outlet. We allow the canner to outlet steam like this for 10 minutes before we place the weight on the outlet and start allowing the pressure to build inside. A gauge on the front of the lid let’s us know how the insides are doing. Once the pressure inside reaches 11 pounds, we start our timer. Different foods require different processing times to ensure that the entire insides of each jar reach a sufficient temperature to kill all potential contaminants. Once the time is done, we start the slow cool down period, allowing the pressure to decrease, then removing the weight, then the lid, and then finally allowing the water in the down canner to cool further before removing the jars.

